Kitty and Bean
  • Blog
  • Store

Garden Planning

1/18/2016

2 Comments


Planning is the Key to Success

When I first started gardening it was chaos. I just planted rows of seeds, with no consideration to sun exposure, moisture level, plant height, or companion preferences.... I have SLOWLY learned from each mistake, and have realized that, especially in a small urban garden, planning makes a world of difference!

2 years ago I switched from traditional row gardening to square foot gardening. I can honestly say that this method has yielded larger harvests, with less weeding and less watering. Another huge perk - no rototilling!

The first year was a steep learning curve as I learned which plants will overtake others. This past summer was more successful, with my first ever successful bounty of several crops I had been having trouble with (specifically onions and cucumbers). 

This year I'm hoping to have an even better year, as I start to figure out the finer art of crop rotation and companion planting!

Picture
Picture
Picture
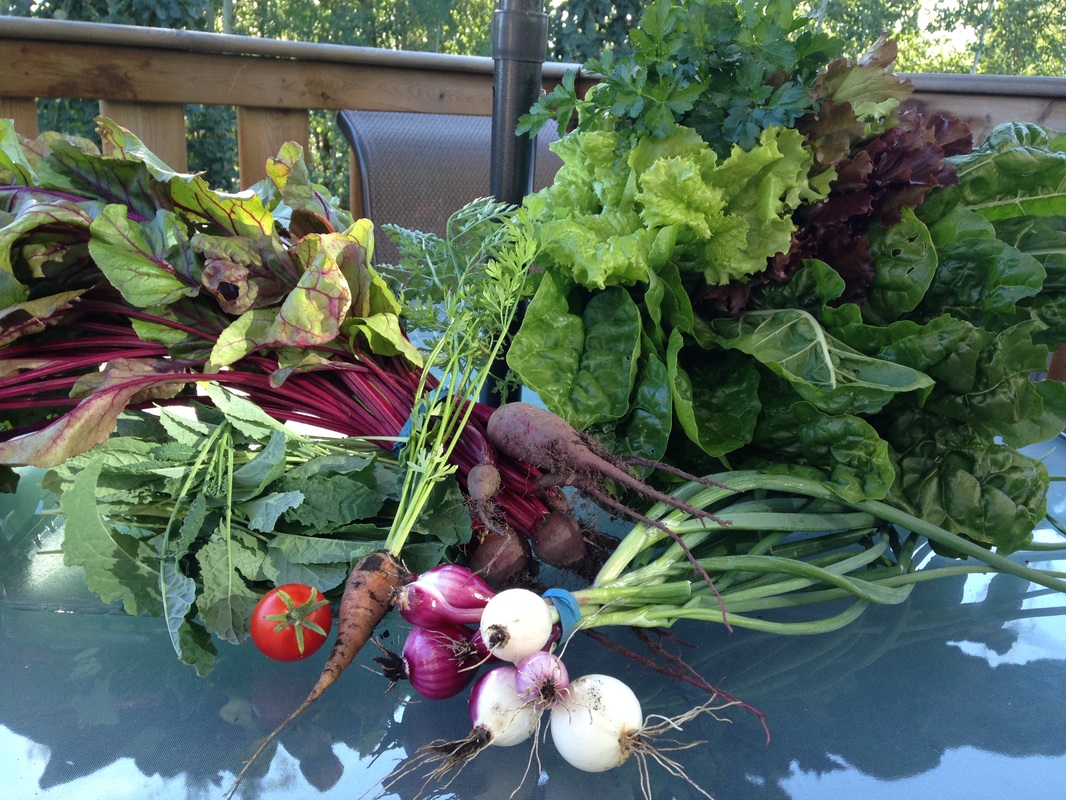
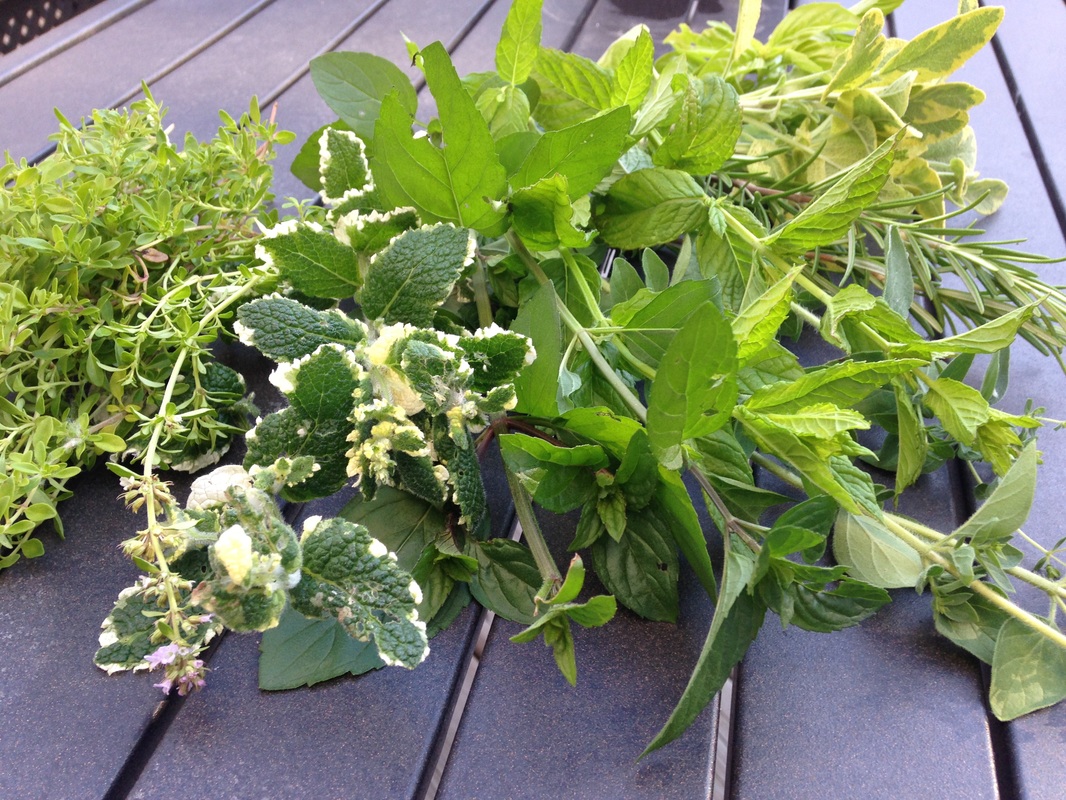
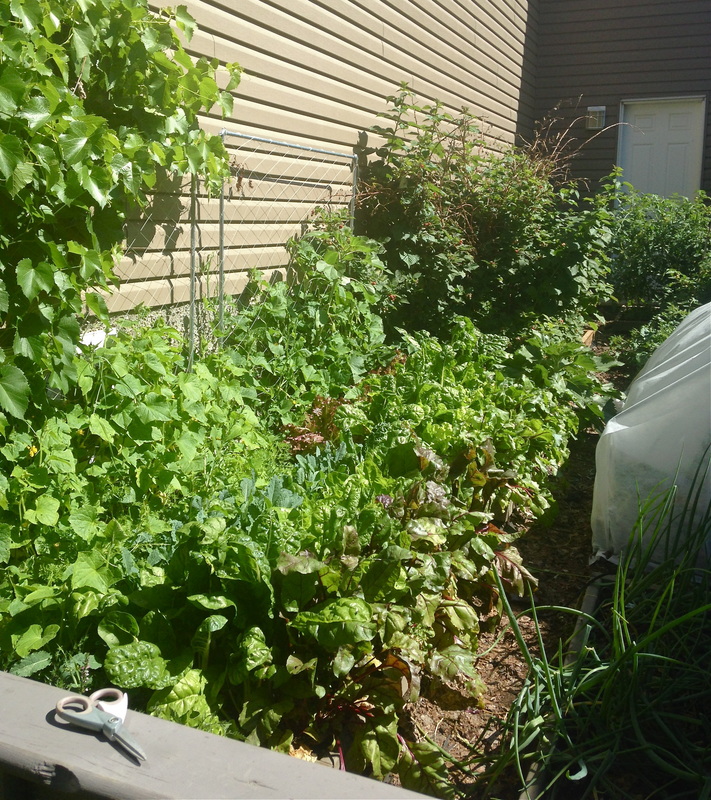
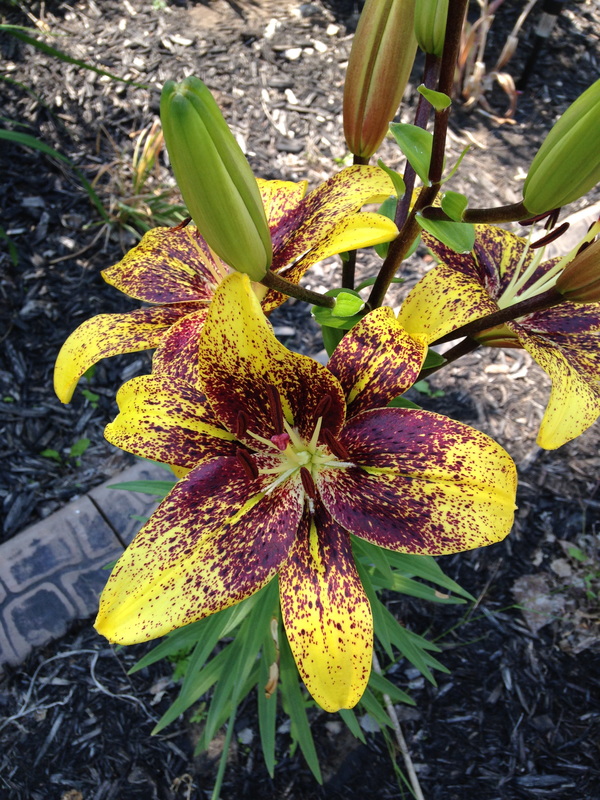
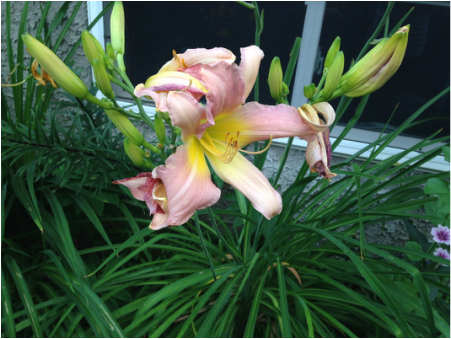
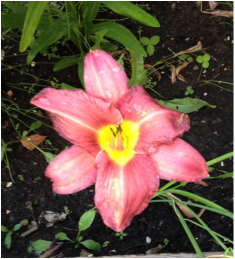
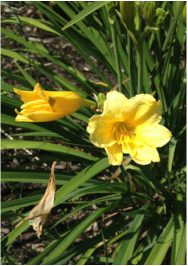
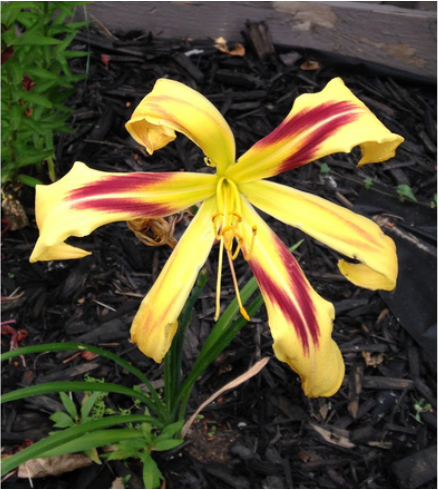
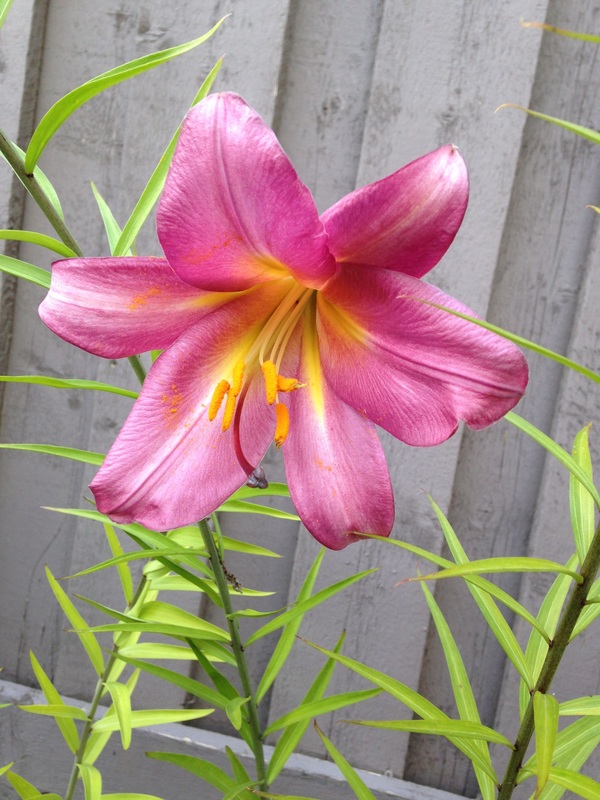
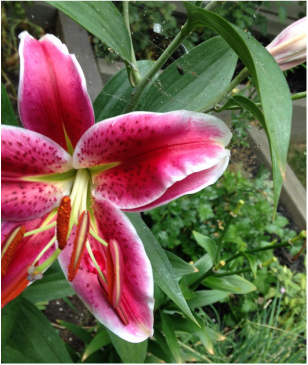
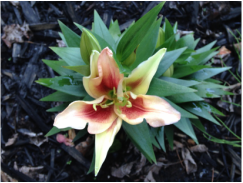
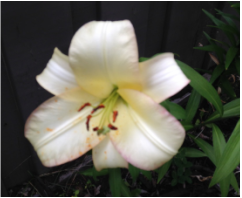
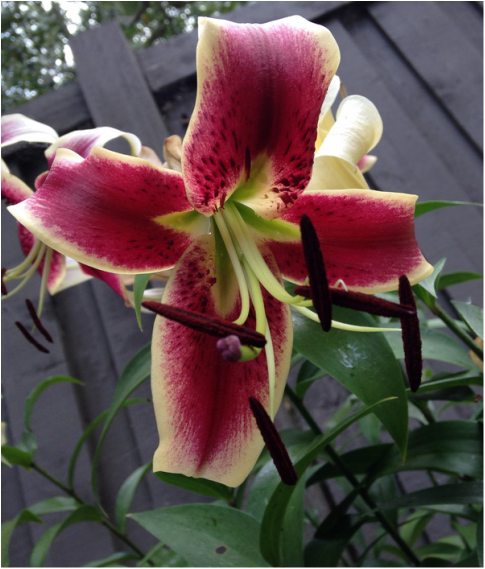
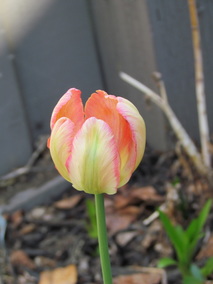
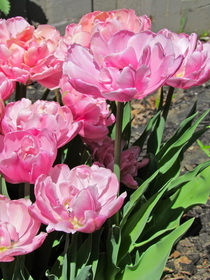
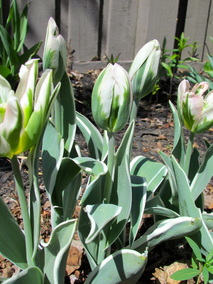
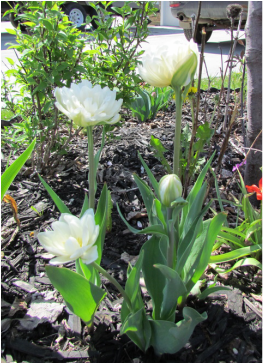
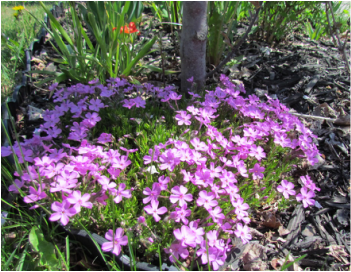
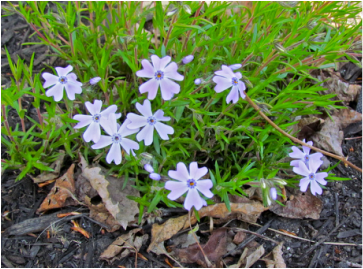
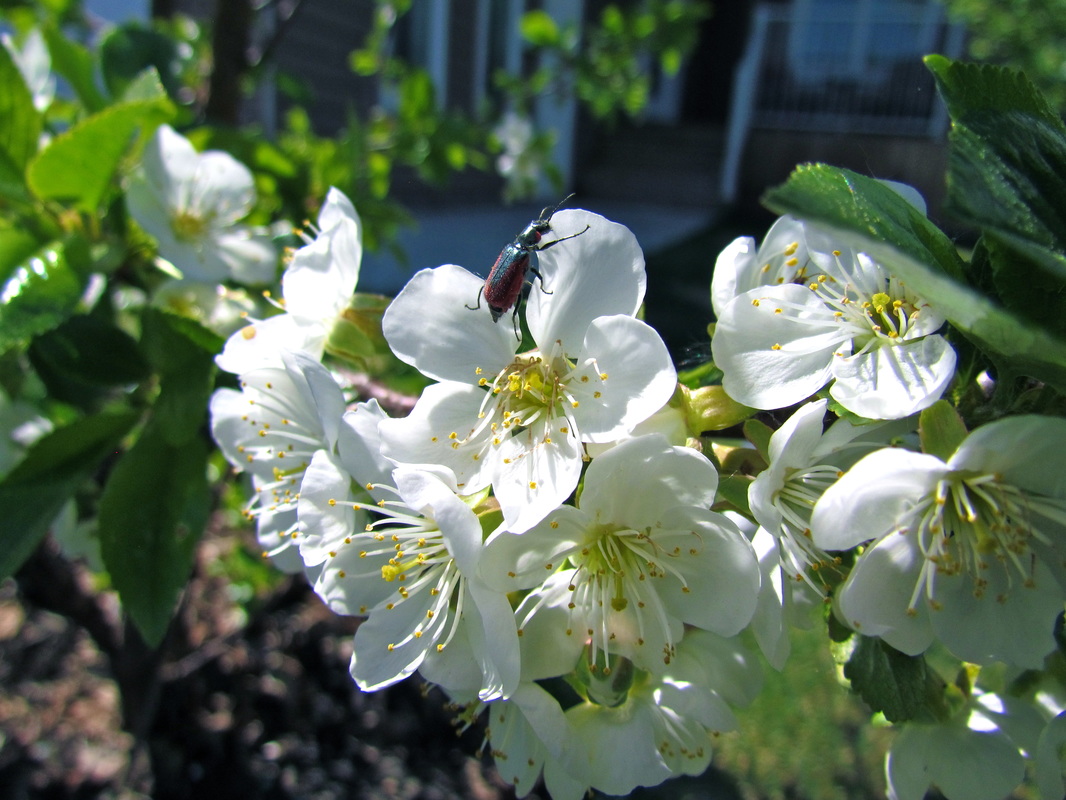
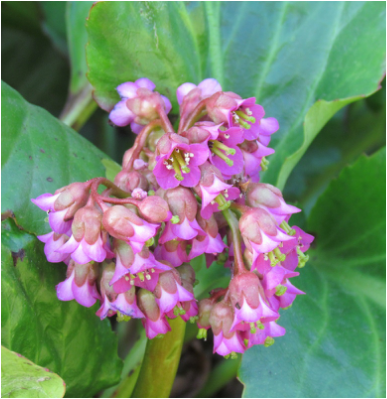
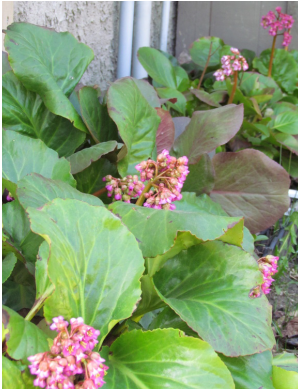
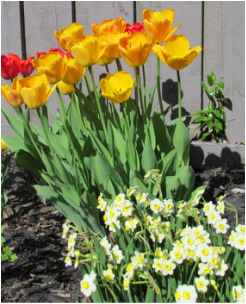
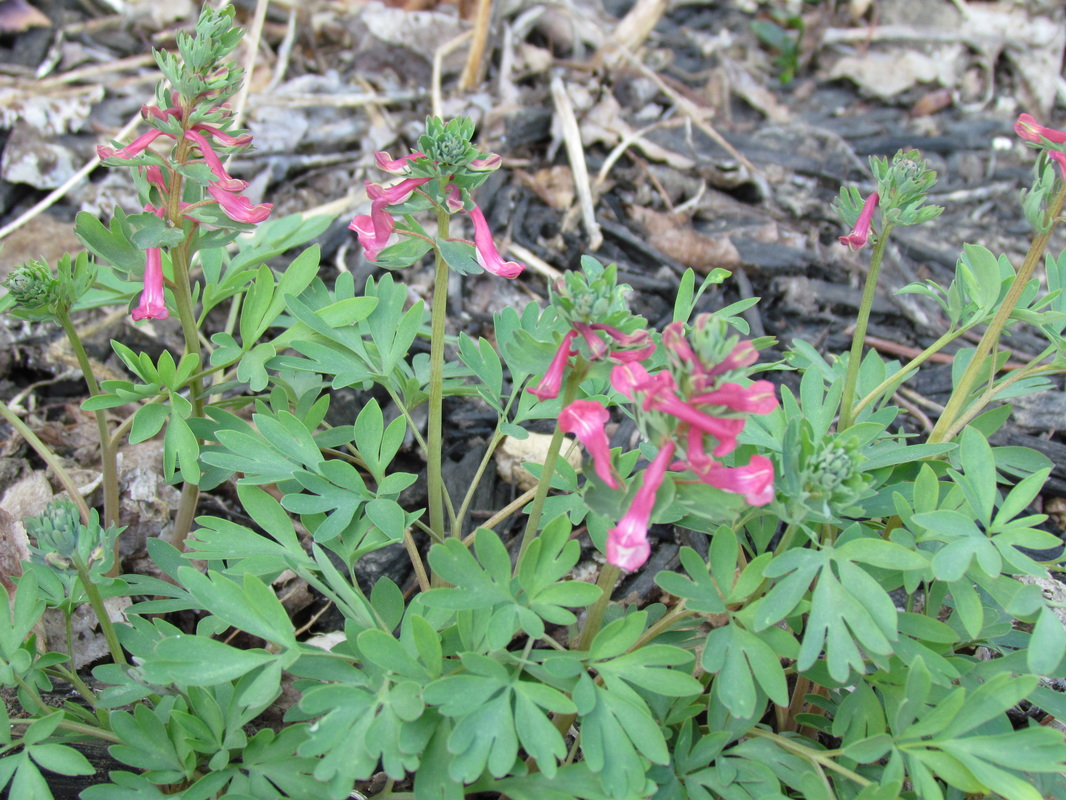
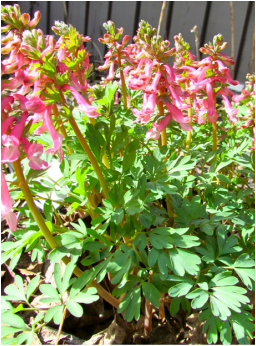
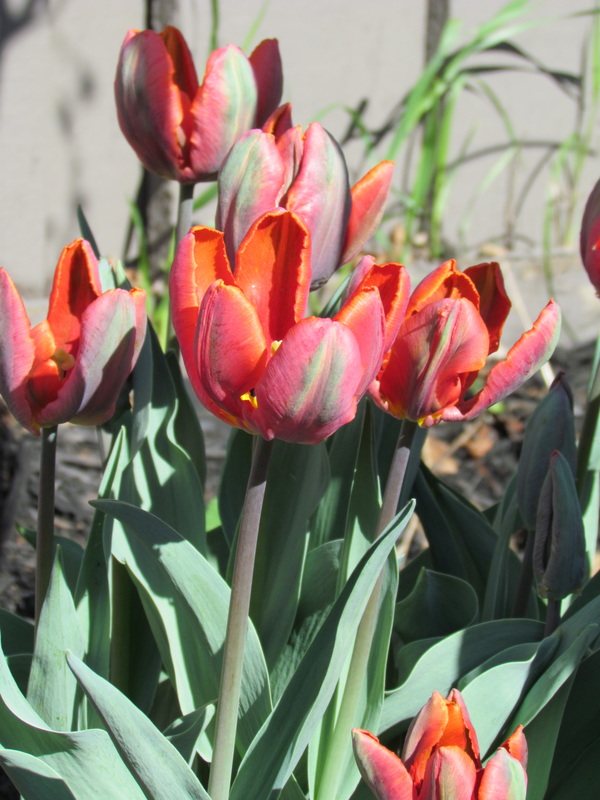
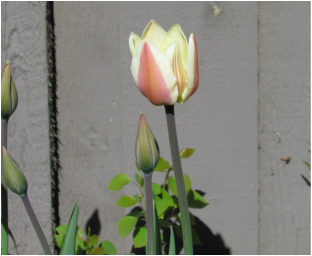
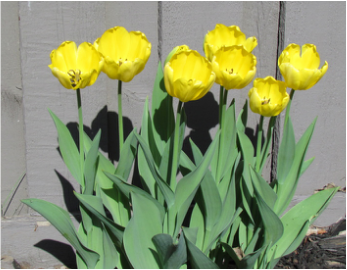
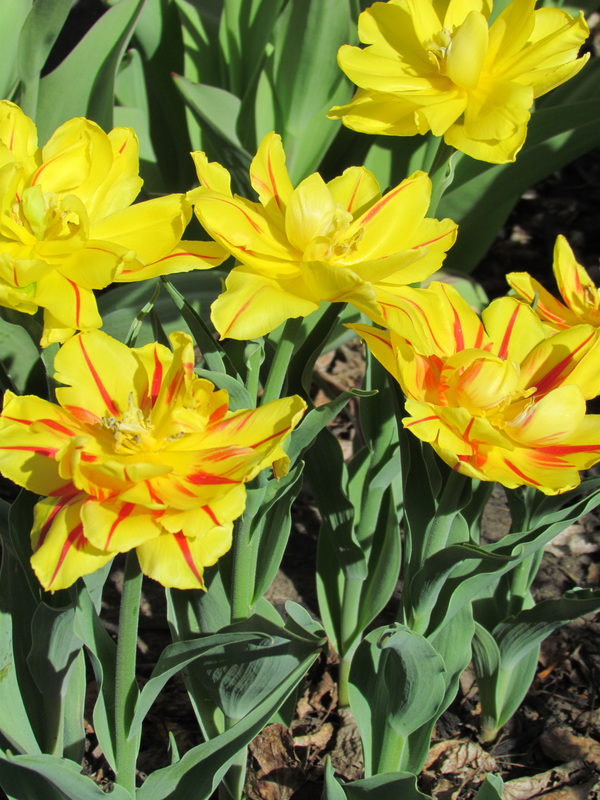
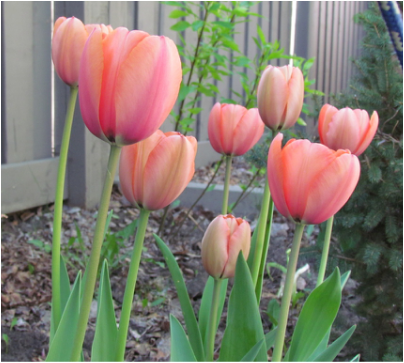
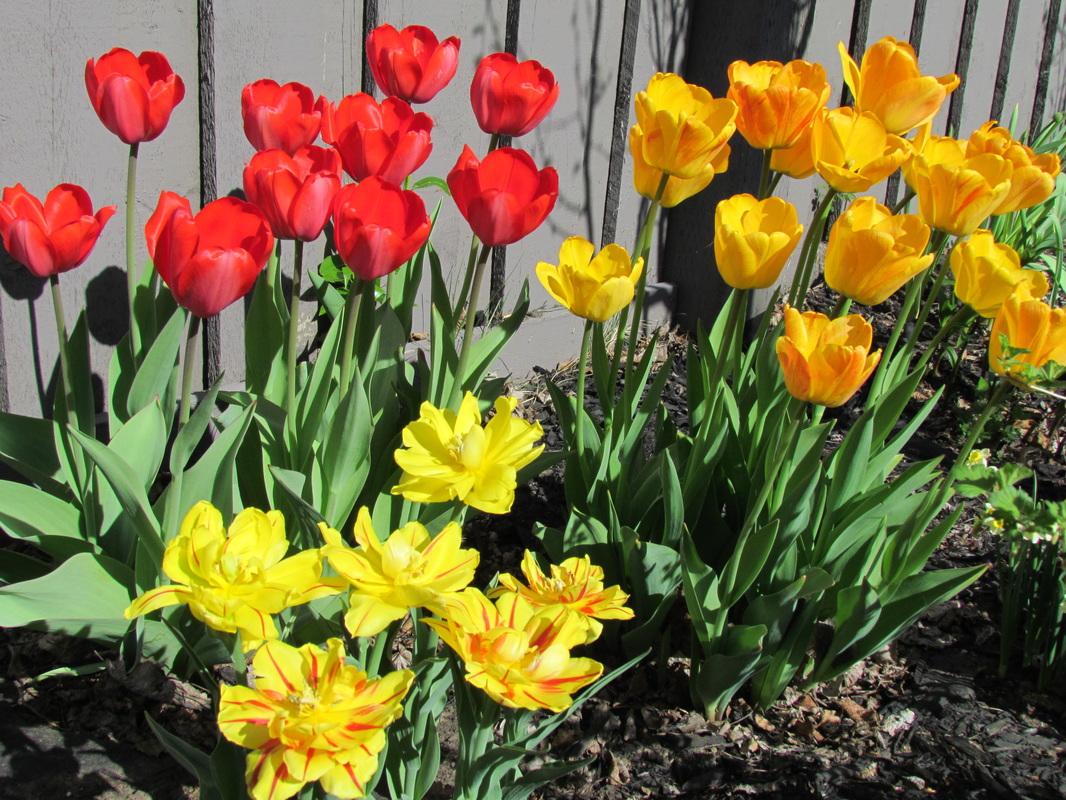
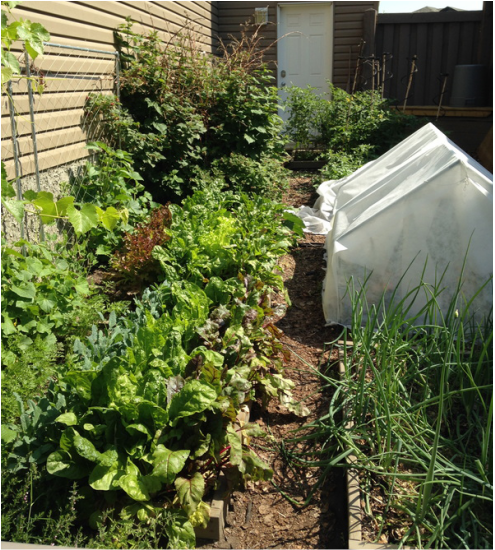
All of these pictures were taken on July 6, 2015. The garden was a jungle of produce by the end of August, and I neglected to take any more pictures before I put the garden to bed in late September. This year I vow to keep better records of how the garden is doing, and of course, take more pictures!
Picture
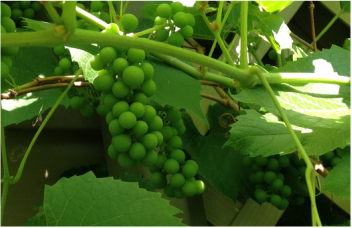
So, on to the planning for 2016:
The first thing you should to do is make a list of what you want to grow, within reason (I can be a bit of a dreamer/over-planter, so this restraint is always a challenge for me).
This year we will be growing the following:
  • Cucumber (specifically Salt and Pepper cucumbers from Veseys)
  • Kale
  • Carrots
  • Garlic
  • Onions
  • Beets
  • Lettuce
  • Swiss Chard
  • Bush and Pole Beans
  • Peas
  • Broccoli
  • Zucchini
  • Tomatoes
  • Corn
  • Squash

Once you have your list, you have to map out your garden and decide where everything is going!
This step sounds easy, but it is NOT. 

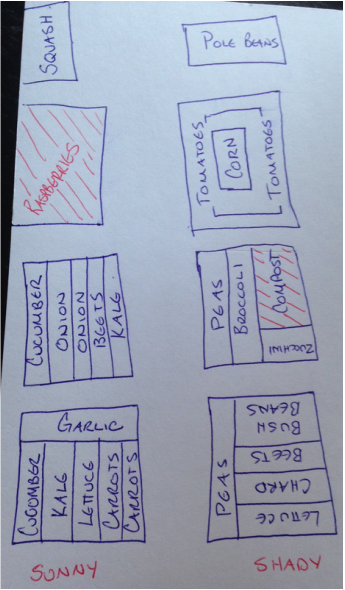
You need to figure out the perfect combination of crop rotation, sun exposure, water requirements, and companion plants. It will take MANY years to find the perfect planting map, so it's best to keep notes (i don't, and I regret it every year). 

This is my planting map for this year... I'll explain a few things on it:
  • I compost IN THE GARDEN. No, you do not need a fancy composter, or bin, or anything.  I just designate a new area of the garden every year for composting. It works VERY well, costs nothing, and is MINIMAL upkeep.
  • I know my sun exposure, and keep it in mind for each and every plant. Carrots and Cucumbers will hate a shady spot, and Lettuce will wilt in hot sun.
  • I planted my garlic LAST FALL. Thats right.... you have to plan THAT FAR ahead. Brutal, right?
Picture
Picture
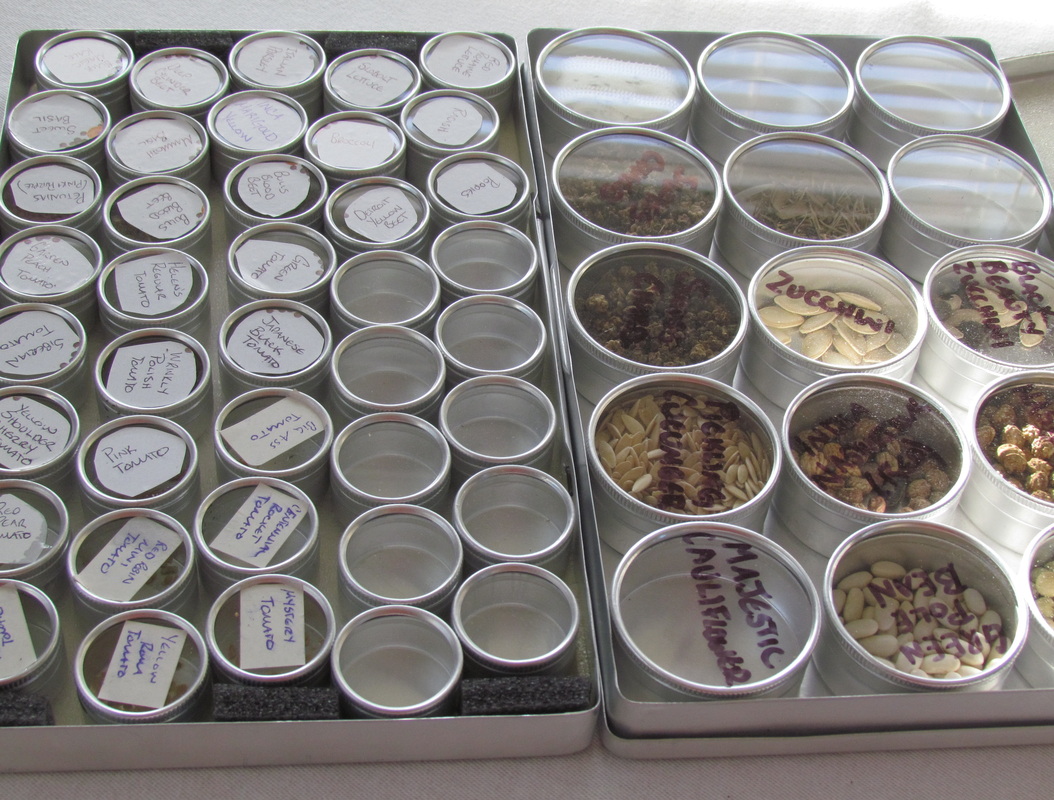
After you've planned, you get to do the fun part... shopping for seeds! I have 2 main suppliers at the moment (aside from the odd impulse buy at Canadian Tire or Peavy Mart).

First is Veseys, which is an awesome supplier of seeds, bulbs, plants, and other lovely gardening goodies. Veseys is located in York, Prince Edward Island, Canada. 

​Second is Cottage Gardener, which is actually my favourite seed supplier. They are an heirloom seed-house and plant nursery in southern Ontario, Canada. They provide rare and endangered heirloom varieties of vegetables, herbs and flowers. 
I love looking through their website, and seeing the history behind each and every seed they carry. 

Once your seeds arrive, the hard work begins... 
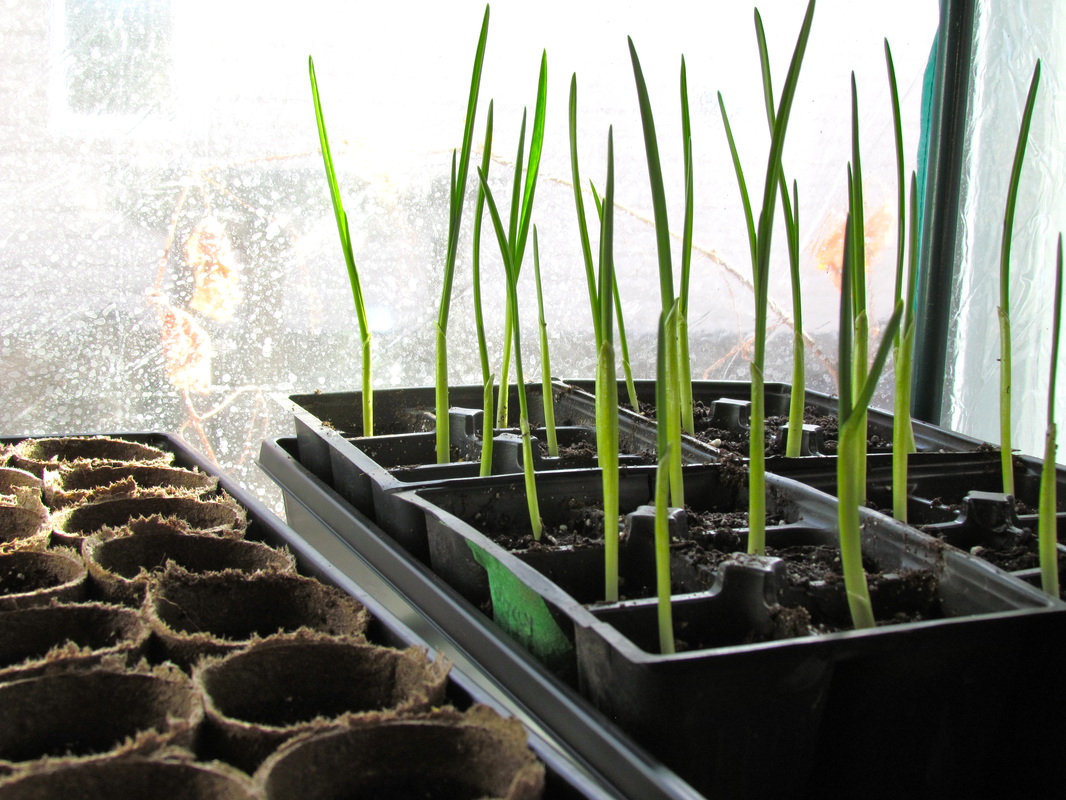
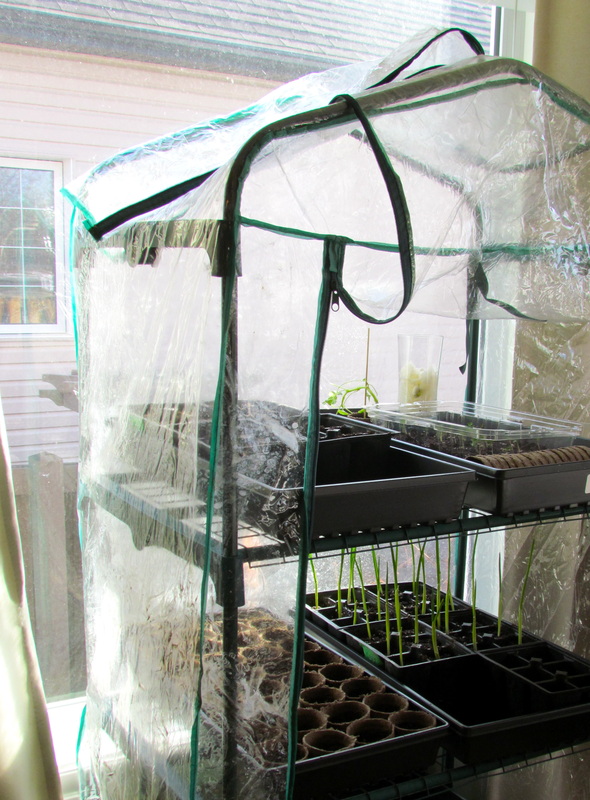
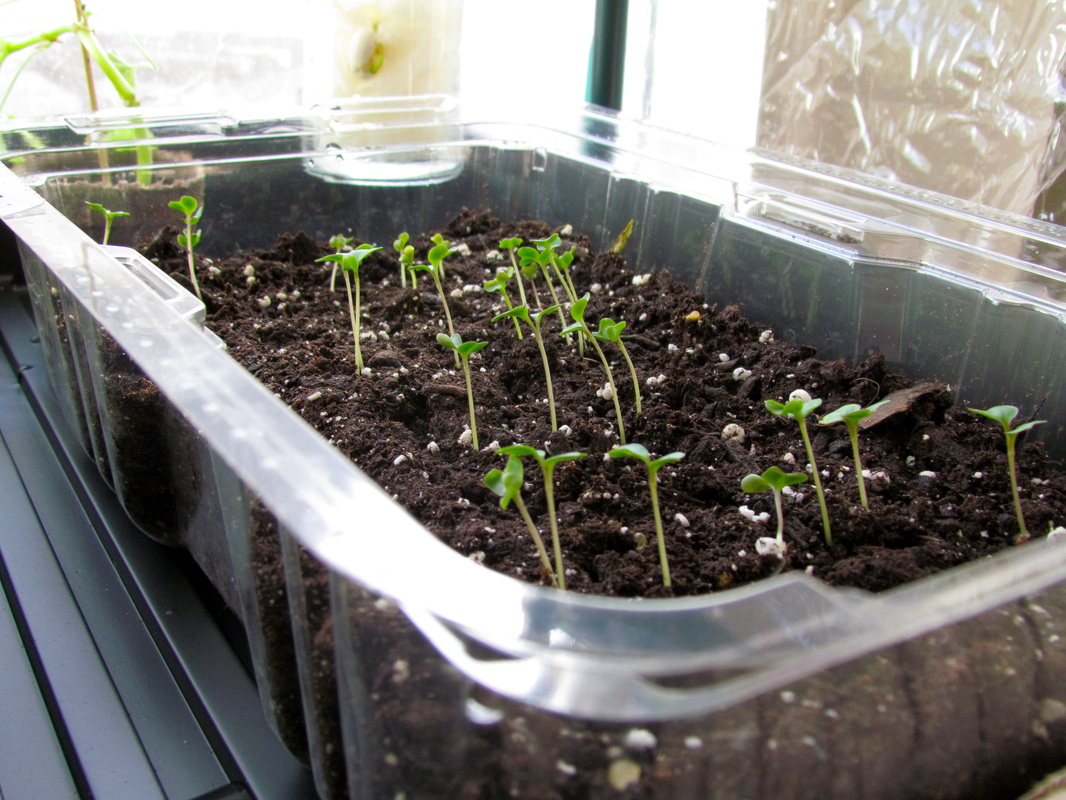
Around late February, early March I will set up my little greenhouse, and begin growing tomatoes and flowers... So until then... Maybe more food and knitting posts?
2 Comments

Making Pierogi (Pyrohy)

1/1/2016

0 Comments


My New Christmas Tradition

I'm back to blogging! 
I took a few months off to redirect my career path, and now I'm settling in to a brand new groove.
It has been a whirlwind few months, but I've been stashing away a few blog entries, waiting for a lull in the activity.

My first entry is all about my tradition of making handmade pierogi for Christmas.  

My Grandma taught me the basics of pierogi making (Ukrainian style, so technically Pyrohy making), but I've since found my own way... from dough to filling.  So this entry is NOT for a pyrohy/pierogi purist. These recipes are for a more modern home cook, looking to make some incredibly delicious carb loaded dumplings!
Picture
The BEST Pierogi Dough Recipe

4 Cups Flour
1 tsp Salt
2 Large Eggs (lightly beaten)
1 cup Sour Cream
1/2 cup Butter (softened and cubed)


  1. Mix the Flour and the Salt in a large bowl. Make a well in the middle of it.
  2. Into the flour well, add your eggs, sour cream, and butter. Mix by hand.
  3. Knead the dough for 5 - 10 mins. Until smooth-ish.
  4. Cover, or wrap the dough in plastic, and let it rest for at least 30 mins.
**This recipe can easily be doubled**

Picture
Picture
While you're letting your dough rest, you need to make some filling! Everyone has their favourite, mine is saurkraut, my daughters is cheddar, and my Dads is cottage cheese. I made 4 kinds of fillings this year, and froze a bunch for quick meals when we need them.  I did 4 batches of the dough, and it made roughly 140 Pierogi. They freeze incredibly well, as long as you follow a few simple rules... I'll get to those in a minute.
Picture
​Cottage Cheese and Bacon Filling
1 container DRY cottage cheese (2 1/2 cups)
1 medium white onion (chopped fine)
2 cloves garlic (minced)
6 slices bacon
1/2 cup mashed potatoes
1/2 tsp each - garlic powder, onion powder
salt and pepper to taste

Cut the bacon into small pieces and fry in a skillet until crispy. Drain on a paper towel and fry the onion and garlic in the bacon fat until translucent. Place this mixture in a bowl with the cottage cheese, mashed potato, bacon, and seasonings. 
​
​
Cheddar Filling
2 cups hot mashed potatoes
2 cups shedded cheddar cheese
1/4 tsp onion powder
salt and pepper to taste


Combine all ingredients together. It's important that the potato is hot, so it can melt the cheese quickly, with minimal mixing.
​
Sauerkraut Filling
1 cup Sauerkraut (drained)
1 1/2 cups mashed potato
1 tbsp Butter
1 small onion (chopped fine)
2 gloves garlic (minced)
1/4 tsp onion powder
salt and pepper to taste

Saute onion and garlic in butter. Combine with the rest of the ingredients. If the sauerkraut makes the filling too wet, add more potato.
​​
Cottage Cheese and Spinach Filling
2 cups fresh spinach (roughly chopped)
1 small onion (chopped fine)
2 cloves garlic (minced)
1 tbsp butter
1/2 cup mashed potato
1 container DRY cottage cheese (2 1/2 cups)

1/4 cup feta cheese

Saute the onion and garlic in the butter until translucent. Add the chopped spinach and saute just until wilted. Combine this mixture with the rest of the ingredients, and season with salt and pepper to taste.
Picture
Assembling and Freezing your Pierogis

First you will need your equipment...
  1. Rolling Pin
  2. Cutting tool (I always use a heavy glass)
  3. Bowl of filling
  4. Tablespoon (to measure filling)
  5. Fork (to crimp edges shut)
  6. Container of Flour (for dusting)
  7. 2 cookie sheets (or more) lined with parchment or wax paper

Once everything is set up and ready to go, rollout a chunk of the dough (I usually cut the dough into quarters and deal with it one quarter at a time). Make sure you dust your rolling pin and your surface. You want to roll it to about 1/4" thick (not too thin or your pierogis will break when you cook them).

Cut out as many rounds as you can with your cutting tool (cup/glass). Put the dough scraps in a plastic bag to rest. You will be able to re-roll these to make more rounds, but not right away.


Take one round and measure out one tablespoon of filling into the centre. Be very careful not to touch the filling to the edges of the dough. Take the center of each dough edge and pinch them together, then work your way around, pinching the entire thing shut until you have a half-moon shape. Then you will want to seal the edges with the tines of a fork.

Place the pierogi on your lined cookie sheet, and keep going. Once you have a sheet filled, put it in the freezer to make sure they freeze properly. It takes mine about an hour to freeze, then they are safe to transfer to a labelled freezer bag.  I can usually stuff around 36 pierogi into one large freezer bag. 
Picture
Picture
Picture
0 Comments

Early Summer Blooms

7/25/2015

2 Comments


An Ode to Lilies

Lilies are a new love of mine.  In a quest to create a colourful perennial landscape, lilies have emerged as a very satisfying, hardy, and beautiful perennial.  I have now collected many Daylilies, Asiatic Lilies, Tiger Lilies, Trumpet Lilies, Oriental Lilies, Border Lilies, Spider Lilies and Giant Hybrid Lilies in my small suburban garden.  This post is my attempt to display the lilies I have grown so far, and to show each variety's unique attributes.

Tango Lilies
Tango lilies are different because of their dark, prominent speckling. Vibrant colours on sturdy stalks make them perfect for the middle of a perennial garden.  I currently only have Yellow and Red Tango Lilies, but there seems to be new colours available each year.
Picture
Picture
Daylilies
These grassy-leaved wonders are awesome for naturalizing, and are possibly the hardiest, most versatile plants I grow.  They will blossom anywhere, from full sun to nearly full shade, and don't seem to care about how much water they get.  There is now a wonderful selection of reblooming daylilies available, so you may get a second set of blooms in early fall (once the plants are established)... but I have yet to experience this phenomenon.  
Picture
Picture
Picture
Picture
Picture
Picture
Asiatic Lilies
Easy to grow, quick to multiply, showy, and mid-height, these lilies are great beginner lilies.  They tend to bloom earlier in the season, and become more beautiful with each passing year. There are also Double Asiatic Lilies, but  I only have two of these plants so far, as they seem to be harder to find, and more expensive.
Picture
Picture
Picture
Picture
Tiger Lilies and Turks Cap Lilies
Easy to grow and very exotic looking, Tiger Lilies and their Hybrids are nice late summer bloomers.  They are speckled with curled petals, and can have as many as 20 blooms per stem at maturity.  The Turks Cap lilies have an identical form, but without the distinctive Tiger Lily speckling.
Picture
Picture
Picture
Picture
Border Lilies
These lilies are compact, and multiply reliably each year. Eventually they fill in the front of perennial beds with rich, glossy colour.  These varieties are pretty expensive, and don't come in a huge variety of colours, but are well worth the investment.
Picture
Spider Lilies
These daylilies have long, thin petals, making them look a bit spider-ish.  I've only seen a few of these in my hunt for unique lilies, and I only have one currently living in my garden.  
Picture
Trumpet Lilies
Trumpet Lilies have an elongated cup with just the tips of the petals reflexing. The detailing on the outer surface of the petals is just as beautiful as the interior of the flower. I had ordered a set of 5 trumpet lilies but only 3 grew, and of those, only one has bloomed.  I believe they require a little more time than most lilies to become established, but they are very pretty, and unique.
Picture
Picture
Picture
Oriental Lilies
These lilies are among the last to bloom, and add a vibrant pop of colour near the end of summer.  The most common Oriental Lily is the Stargazer, and I made a special home for that one in my garden.
Picture
Giant Hybrid Lilies
I first saw this variety through Breck's Bulbs, and they called them 'Lily Trees'.  They say that by the third year of blooming, the lilies will stand around 8 feet tall, and have massive, tree-like stalks.  I bought about a dozen 'lily tree' bulbs 2 years ago, and added more last year.  The second year stalks are already about 4 feet high, and are still growing.  They are hybrids of Oriental Lilies, so they will bloom late this year.... and I can't wait!
Picture
Picture
Picture
Picture
Sharing Lilies
The wonderful thing about all of these lily varieties is that they multiply each year, and rely on bulb splitting every 5 years or so to maintain their health.  Basically, you need to dig up and share all of your beautiful lilies with your friends and neighbours, in order to keep your own plants healthy... What a wonderful, beautiful, generous flower!!!
2 Comments

DIY Wasp Spray

5/26/2015

6 Comments


Kill Wasps with a Natural, Non-Toxic, 3 Ingredient Spray!

Let me just say, I'm not one to go out and start killing things... animals, or insects.  I know that there is a natural balance to nature, and eliminating any one thing can lead to more problems.  I do however, find wasps to be especially problematic.  They tend to be very aggressive, and I've been stung a lot (usually once a summer at least).  They find their way into the shed, the garage, the house, and my daughter's playhouse, every summer.  Once in my space, I want the wasps dead.  They can live outside (as long as they're not building a big fat nest in the yard), but coming inside is not okay.    I also don't believe in using toxic chemicals in my home, if at all avoidable. SO, I went on a hunt, and found a wasp killer recipe that really worked.  Shockingly well actually.  So, now I'm going to share the recipe for this magical stuff with you! 
Picture
Picture
Wasp Killer Recipe
20 - 30 Drops Eucalyptus Essential Oil
20 - 30 Drops Peppermint Essential Oil
1/4 - 1/2 cup Dawn Dish Soap (HAS to be the blue kind)


Add the above ingredients to an empty spray bottle (anything around 500mL - 1litre is good), measurements do not have to be exact.  Just eyeball it, and it'll work. Then add water SLOWLY (or it will bubble like mad) until it's around 3/4 full.  give a good shake and start spraying!


I have found that the more concentrated your solution is, the quicker the wasp dies, HOWEVER, it's also more harsh on plants and surfaces, so don't over-do it!  


So, I'm no wasp expert, but I love to know why something works. With a bit of research, I've learned that the dish soap helps to compromise the wasps coating on its exoskeleton.  The peppermint and eucalyptus essential oils are both neurotoxic and the wasp is almost instantly killed.  If this is true, it explains why the wasps die so quickly, and aren't able to fly away.  


So, go forth and keep those darn wasps out of your indoor spaces!


6 Comments

Spring Flowers

5/21/2015

1 Comment


Mid to Late Spring Blooms

The initial riot of colour from the tulips is slowly subsiding (helped along by the unseasonably warm weather I think), but there are still fresh buds appearing! The more fancy tulips are coming out to play now, along with the ever-reliable bleeding heart, and some creeping phlox.  
Picture
Picture
Picture
Picture
Picture
I love my shade perennials.  The bleeding hearts are a must-have for a cold-climate shade garden.  They are so hardy, beautiful, and classic.  I also love lily of the valley. It has an amazing fragrance, naturalizes well, and has the cutest little bell-shaped blooms. I was even able to find a pale pink variety at the greenhouse this year! 
Picture
Picture
Picture
My favourite ground cover has finally bloomed, and as always, it's stunning.  It's called creeping phlox, and it forms the most amazingly dense masses of flowers.  It slowly naturalizes year after year, but i've noticed if you don't use weed-barrier to control the growth it will integrate dandelions and grass, and it's nearly impossible to remove the weeds once they've blended with the plant.  I've had to dig up more than one clump of phlox because of this.  
Picture
Picture
My trees are in full bloom now too!  I am most excited for my heirloom cherry tree.  This tree is a direct ancestor of the tree my Grandma took from her family farm.  The original tree has since died, but Grandma allowed a few saplings to sprout around the tree over the years, and when we moved to Grande Prairie, she let me take a little cherry tree with me!  I also have an ornamental flowering crab tree that gets little purple apples on it. They're not  safe to eat, but the moose and deer seem to like them.  
Picture
The back lawn is having a rough go of things, between 2 female dogs, dandelions, and horrible topsoil, it doesn't stand a chance! Some serious grass 911 will be in order, once I get a larger stretch off of work.  Happy gardening!
Picture
1 Comment

A Zone 2 Spring Garden

5/14/2015

2 Comments


A Spring Garden in Northern Canada... Worth the wait!

Spring has come very early in Grande Prairie this year... at least that's how it feels.  I spent a lot of hours last year planting fall bulbs, and now they're putting on quite the spring show.  I bought tulip and daffodil bulbs from Brecks Bulbs, as well as from Costco.  Brecks also had some lovely specialty items like Blue Grape Hyacinths and Double Snowdrops.  So, I thought I'd document what went where, what worked, what didn't, and how everything is integrating into my perennial landscape.  

Picture
Picture
This plant has to be my absolute favourite for a Northern Canadian perennial shade garden. My Grandma calls it Elephant Ears, but its also called Pigsqueak.  It's real name is Bergenia, and it's a real gem.  It loves shade, doesn't seem to care about soil quality, and naturalizes beautifully.  It has big, beautiful tropical plant-looking leaves, that are nearly evergreen.  These are very forgiving shade perennials that allow you to entirely neglect them.  The spring flowers are a gorgeous pink, and unlike hostas, they are great to divide every few years.  I have them in a spot in my yard up against the house, where I couldn't even get Liliy of the Valley to grow.  This grouping of plants is about 5 years old, and I've divided them twice already.  
Picture
Picture
These are special little Daffodils, called Quail Daffodils. I ordered them in bulk from Brecks Wholesale last fall, so this is their first year in the garden.  I planted them in two big masses in the front beds of the full/part sun garden, because they are short, sun-loving, and naturalize well. Eventually my goal is to eliminate the weed barrier in the perennial beds, as the perennials slowly grow into the space.  I'm impressed with these little daffodils, and their lovely mass of flowers on their very first year.  I made sure to plant them in an area that has perennials that will grow in, to cover the space in the summer months, so they are placed in front of daylilies and beside a gooseberry bush.  
Picture
Picture
This is a plant that I planted 2 years ago, and loved it SO MUCH that I bought more bulbs and planted it in 2 more spots last fall. I ordered this from Brecks Bulbs, and they call it Spring Larkspur, but I believe the actual name is Corydalis. It is the first flower to bloom every spring that I've had it, and has such a full, lush growth of leaves and flowers.  It doesn't seem to mind part sun, so I have it in spots that only get 4 - 6 hours of sun a day.  Once the flowers die back, so does the entire plant, so I just toss a bit of mulch over the bare spot to keep the weeds down in the summer.  It's not a tall plant either, so I keep it closer to the front of the beds, where it won't get blocked out by taller tulips and daffodils.   
Picture
Picture
These are two more specialty bulbs.  The first one I bought from Veseys 2 years ago. They call them Checkered Lilies (Brecks also has them and calles them Guinea-Hen Flower). The latin name for them is Fritillaria meleagris. These were underwhelming the first year, but this year they put on a much bigger show, with 2 -3 flowers per stalk, and they've doubled in height (they're now about as tall as the tulips). They are sun-lovers, so these would be awesome in a sunny spring perennial bed.


The second flower is one I ordered from Brecks last fall, so this is its first spring in the garden.  They are called Blue Grape Hyacinths, and according to Brecks they are extremely Hardy, naturalize well, and do well in any sun exposure.  I have them at the front of my full/part sun perennial bed, and they're doing very well.  Especially considering this is only their first year.  The blue/purple colour is very striking, and is a nice contrast to the yellow Quail Daffodils in the same bed.  
Picture
Picture
So this is a stunning shade perennial I ordered last summer.  They are Hardy Primrose plants, and they over-wintered wonderfully (in a shady, cold part of the yard too). The HARDY part of the name is important, as most Primrose plants are a zone 5 and would never survive here.  Unfortunately, the website I ordered these from last year is no longer running, and I haven't been able to find them anywhere else.  It's too bad, because these are really beautiful flowers... and I want more!
Picture
Picture
Picture
Picture
Picture
Picture
Here is the first round of Tulips, all of which I planted last fall.  The more plain yellow and red ones were from Costco,  and all the rest are from Brecks.  These are all Early Spring blooming tulips,  and the more showy ones tend to be later in the season... But theres a lot of buds out there right now, so we should have one heck of a tulip show VERY soon.  I can't wait!


There are 2 blooms in the garden that I did not get pictures of.  One is called Glory of the Snow, and the other is the Double Snowdrops.  They both bloomed and then wilted before I had a chance to get pictures.  Hopefully they'll last a little longer next year!
2 Comments

The Big Messenger Bag

3/15/2015

2 Comments


New Bag for Me!

So, my last post was about Lauren's little mini-messenger bag, and how I was immediately inspired to make myself a nice big version.  Today I set out to do just that.  I had some gorgeous fabric in my stash, but the pattern on it made it very tricky to use.  I had to play with the bag dimensions a lot, but I think it came out nice.  The fabric store had all their fuseable interfacing on sale, so I picked up lots... and good thing too.  I think I might want to make a few more of these.  It was about 4 hours to sew, start to finish.  I based it loosely off the 'Personalized Kids Messenger Bag" from crazylittleprojects.com.  I kept the top flap simple, and made the bag larger... but it's a really good tutorial to guide you through the basic steps.  
Picture
Picture
Picture
Picture
2 Comments

Sewing a Mini-Messenger

3/8/2015

1 Comment


Allowance = A Sewing Request

My husband and I decided last week that it was time for Lauren to start earning an allowance. We sat down as a family and made an allowance chart. It's a weekly layout, with both mandatory items, and 'bonus' points, (as well as negative points for bad behaviour).  It's on a point system, where you make each point a set value, and then the number of points at the end of the week determines the allowance amount.  We decided 20 cents per point was fair, and Lauren was beyond motivated to get every possible point.  She had an amazing week, and yesterday, she earned her very first allowance!  She was super excited, but then realized that a piggy-bank was not a practical way to take her allowance out shopping!  I gave her an old wallet of mine, but she said it needed a strap... "That's what a purse is for." I said.  Next thing I know, I'm sewing my little critter a purse to hold her wallet.  It turned out super-cute, so I thought I would share.  I am now inspired to make my own larger version, and make it my new work bag!  
Picture
Picture
Picture
1 Comment

Spring Geek-Out

3/6/2015

1 Comment


Seed Starting, and a Rescue Mission

Once March arrives, no matter the weather, I drag out the seed-starting trays and get to work.  It's one of those things I spend all winter planning, and then get way too excited when it's finally time... All my planning inevitably goes out the window, and I plant way too much of everything.  This year is already shaping up to be dangerous... and I'm trying to figure out how to plant more and more stuff in my little suburban oasis.  Last fall I worked hard at organizing and saving my seeds.  I purchased some super cool aluminum watch-makers cases from Lee Valley (the greatest gardening store on Earth), and I love how organized they kept everything! 
Picture
I had an unexpected endeavour along with the usual seed starting... the garlic in my fridge had started growing. It was starting to look like an actual plant in there, all sad and clinging to life... so being the crazy plant lady, I rescued them. So now we have 24 sprouted garlic plants growing in the greenhouse (I use that term loosely).
Picture
I have also started some cauliflower at Lauren's request. I'm going to have to figure out how to keep the bugs away from it this year (organically of course).  In addition, I have Inca Merigolds (they're massive), and at least 12 different kinds of tomatoes started.  It's going to be an exciting spring, so get planting!
Picture
Picture
Picture
1 Comment

Beginner Knitting Tutorial

3/4/2015

1 Comment


Long-Tail Cast On and the Magic Loop

Well, here it is! My first knitting tutorial!  It's pretty rough, so please forgive me! Next time I'll set up the camera differently!  Anyway, it's a video review of my favourite method of knitting, including: making a slip knot, a long-tail cast on, and knitting in the round using the magic loop method.  I have started a youtube channel to manage the video tutorials I'm posting. Hopefully I can fill it with some useful information, and help out my fellow crafters (paying it forward)! I think my next tutorial will be how to knit 2 at a time mittens.  Let me know if you have any tutorial requests... cabling, fair-isle, crochet, sewing, canning, gardening? Thanks for the support! Cheers, and Happy March everyone! 
1 Comment
<<Previous
    Picture

    About Me

    My name is Robynn, and I am a wife, and mother, living in Grande Prairie, Alberta, Canada.  I am a Registered Respiratory Therapist (RRT), a vegetarian, and an artistic, crafty individual.  I am passionate about the old-world things my Grandmother taught me... Gardening, canning, sewing, and cooking.  I believe they all have an important, and under-appreciated, role in the modern world.  Thank you for taking the time to learn a little more about me.  Enjoy!

    Archives

    January 2015
    December 2014
    November 2014
    October 2014
    September 2014

    Categories

    All
    Baking
    Canning
    Crafts
    Gardening
    Knitting
    Merchandise
    Sewing

    RSS Feed


Powered by Create your own unique website with customizable templates.