Simplified Snow Dyeing (NO soda ash required)!
I love dying fabrics. It's fun, creative, and a cool project for Lauren and I to do together. I stumbled across the concept of snow dying the other day, but it involved the use of soda ash for prepping fabric, and professional dyes. Not my thing. So i decided to try and do the project with something simpler, and it worked out wonderfully! So I thought I would share this beginner's version of snow dyed fabric so everyone can do some crafts with all that white stuff we have out there!
Snow Dying Tutorial
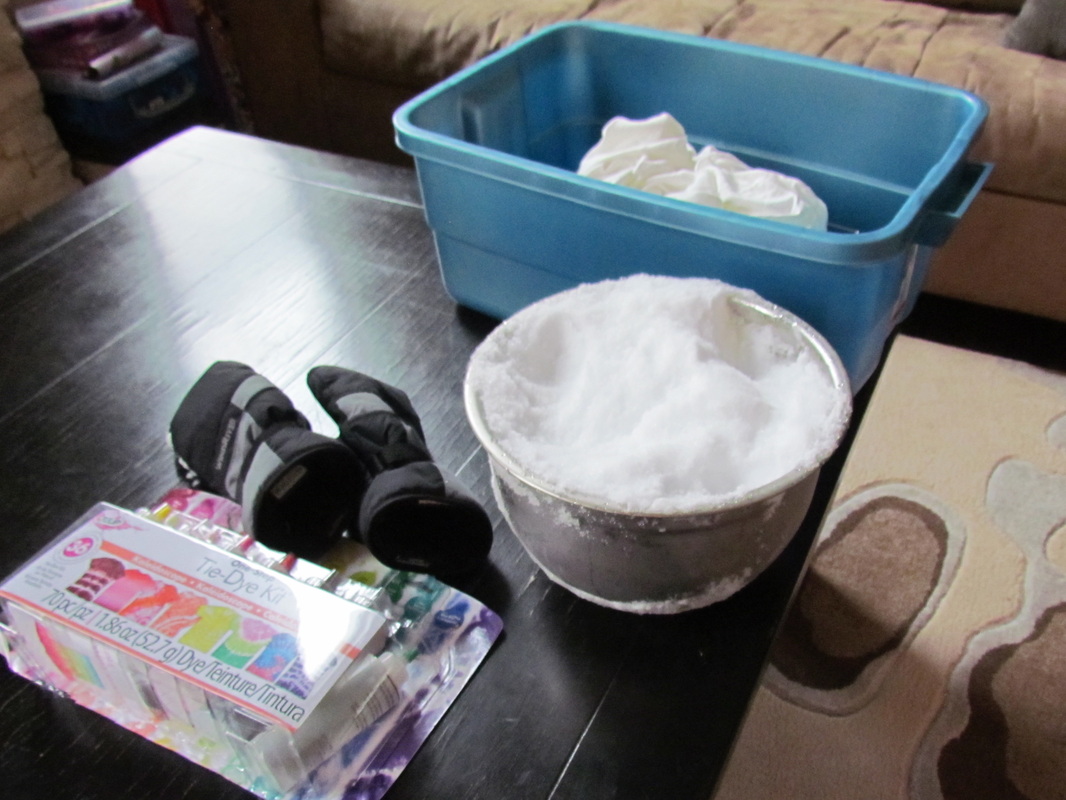
Supplies:
1. Washed and dried white or natural fabric. I LOVE working with un-dyed organic bamboo french terry fabric. There's a wonderful Canadian supplier called Kindrel that I get all these lovely fabrics from. It's only about $11 (US) a yard for the heavy stuff, and it's worth every penny! I've also dyed cotton (up-cycling old t-shirts) and it works just as well.
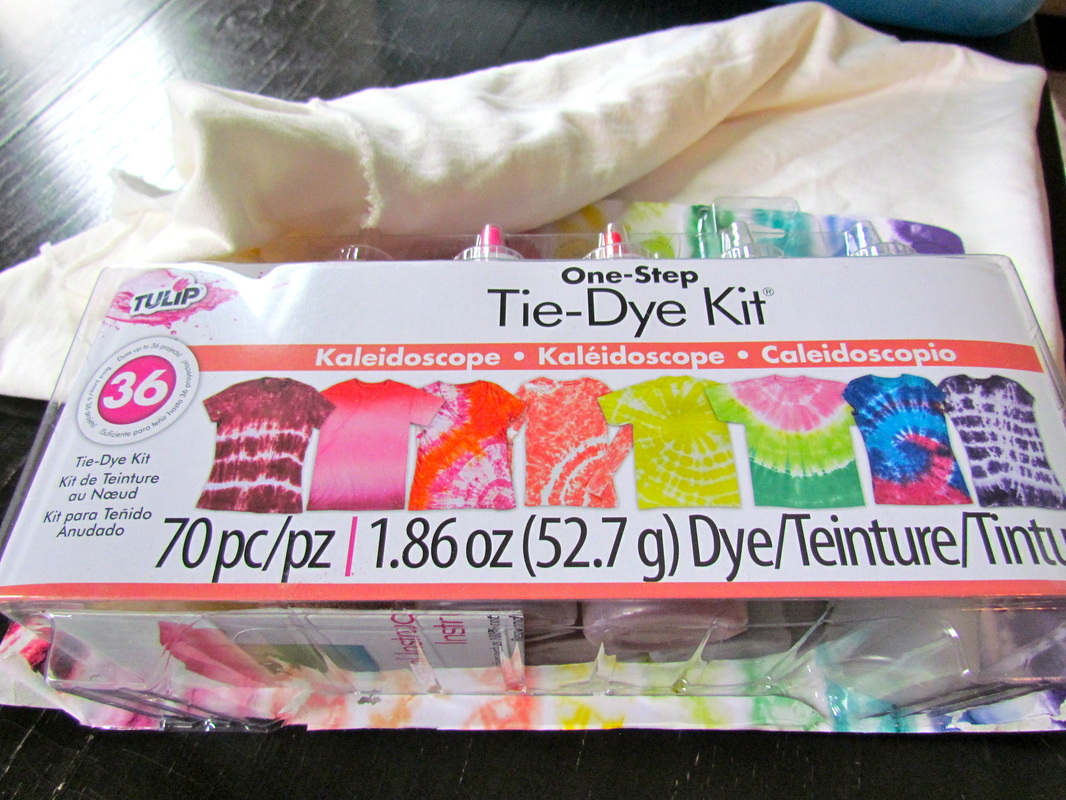
2. One-step tie dye kit. Any craft store has these kits, and they're pretty affordable if you catch them on sale. Don't get the professional dyes, because those require the soda ash pre-treatment.
3. A plastic bucket that has a lid.
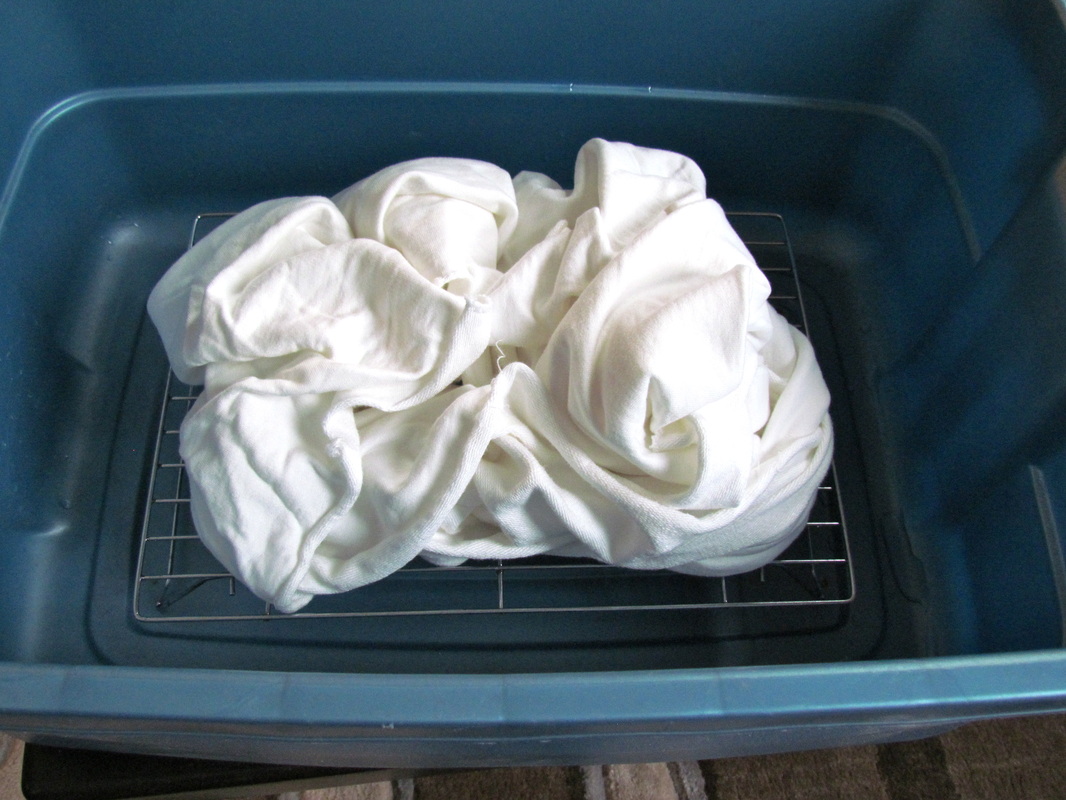
4. Mesh or metal rack to keep the fabric out of the melted sow puddle. I used a rack from the warming drawer in my stove, and a cookie cooling rack. I have also seen people use window screens, etc. It doesn't seem to matter much.
5. Snow
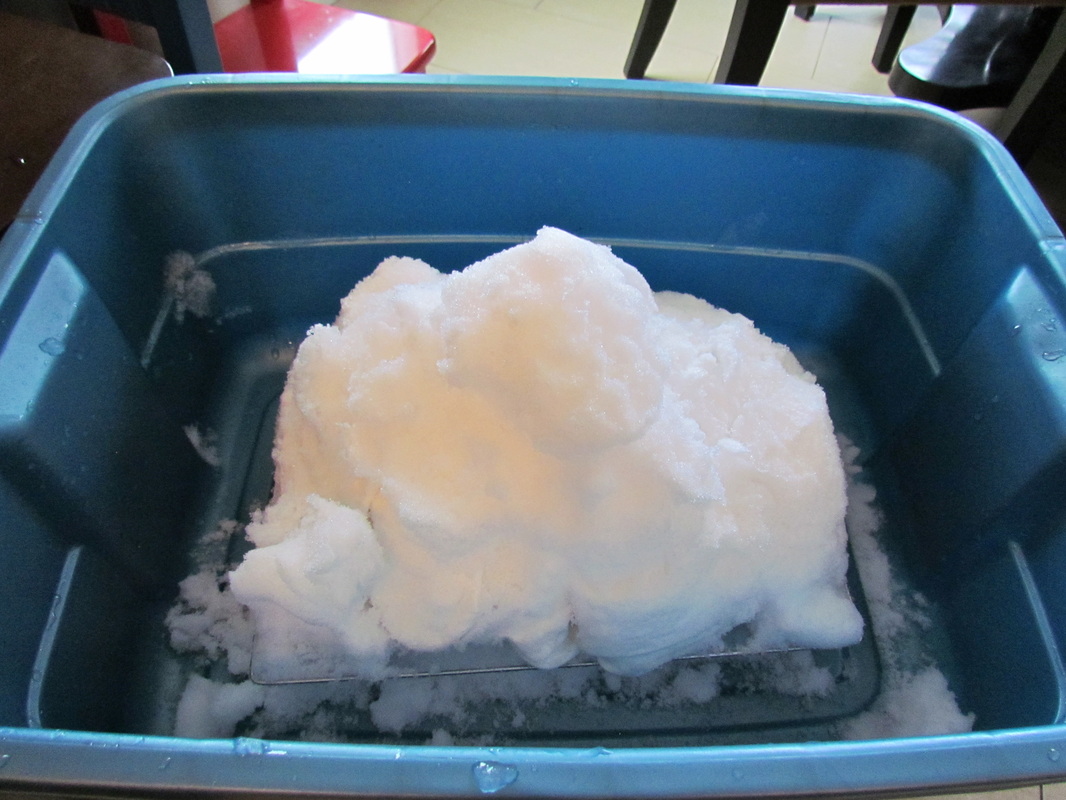
Place your rack in the plastic bucket. Scrunch up your fabric and place it on top of the rack. Make sure no ends are falling through or are hanging off the edges.
Carefully pile snow on top of your fabric. Try to cover the edges if you can, not a big deal if some of the fabric is sticking out. I tried to minimize the amount of snow at the bottom of the bucket though. You don't want the melted water level to reach your fabric.
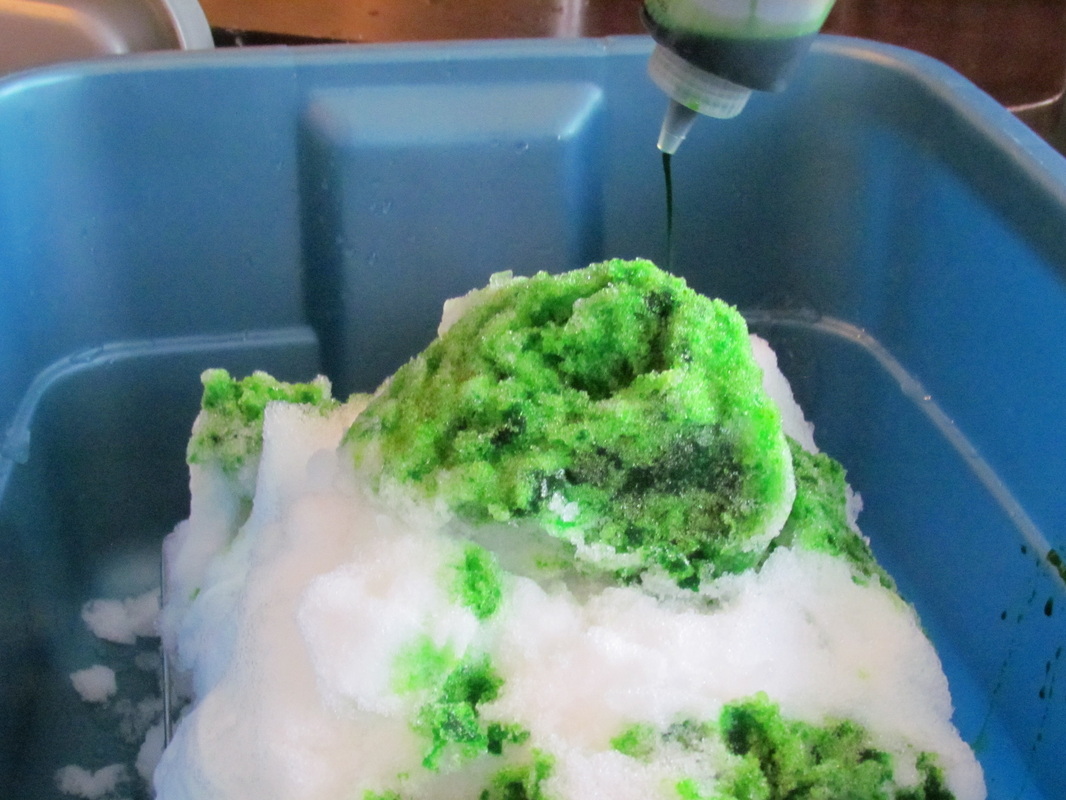
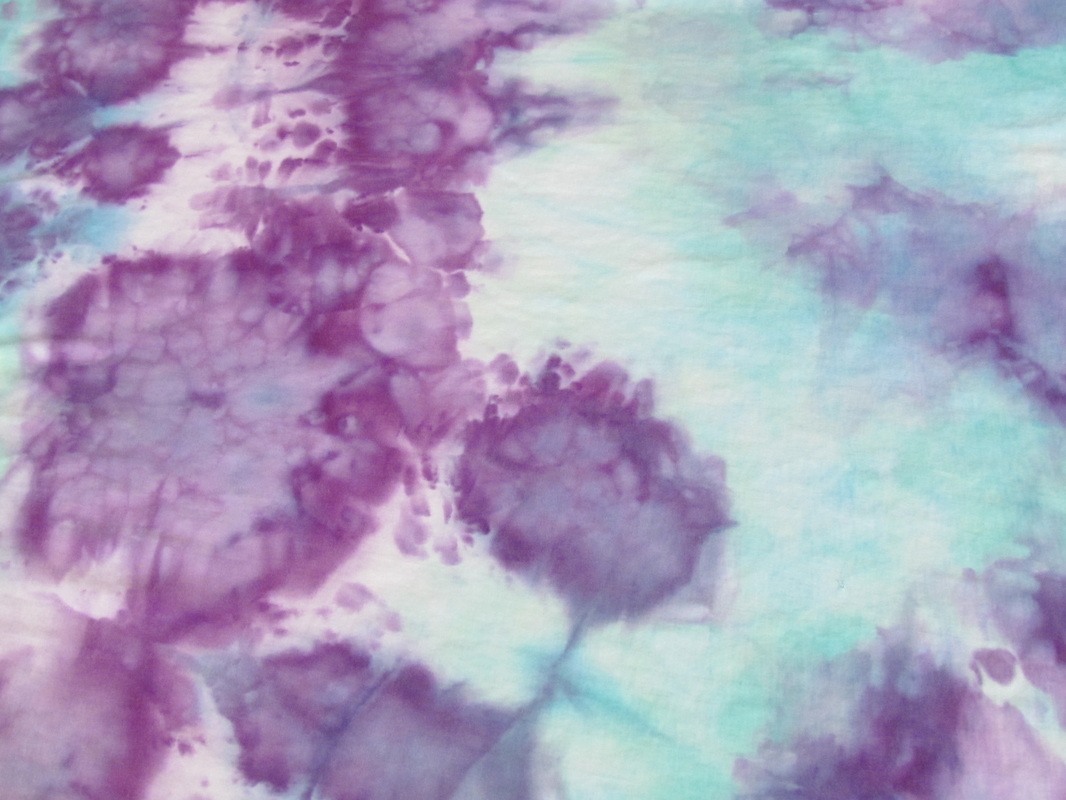
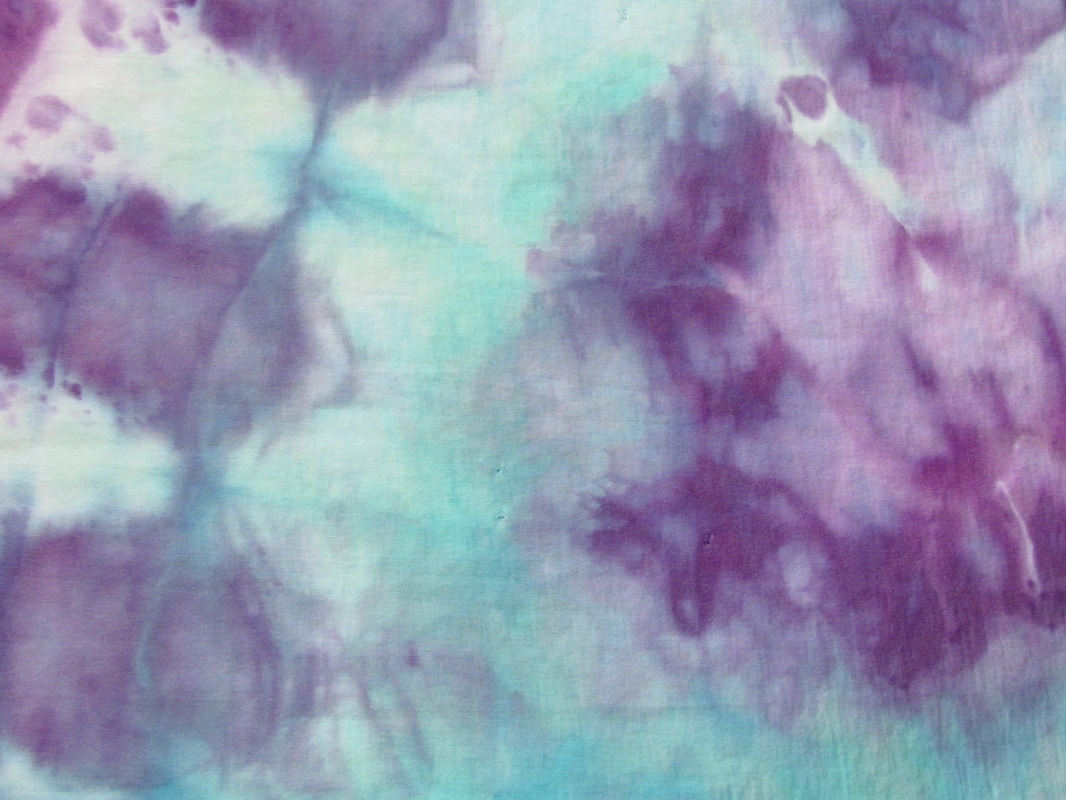
Now for the dye, I tried 2 different methods and both worked. The first method I used was to mix the dyes with half as much water as called for in the instructions (I didn't want the dye to dilute too much once poured on the snow). Lauren squirted the dye onto the snow in blobs of colour. I'm sure you can get very creative with this step.
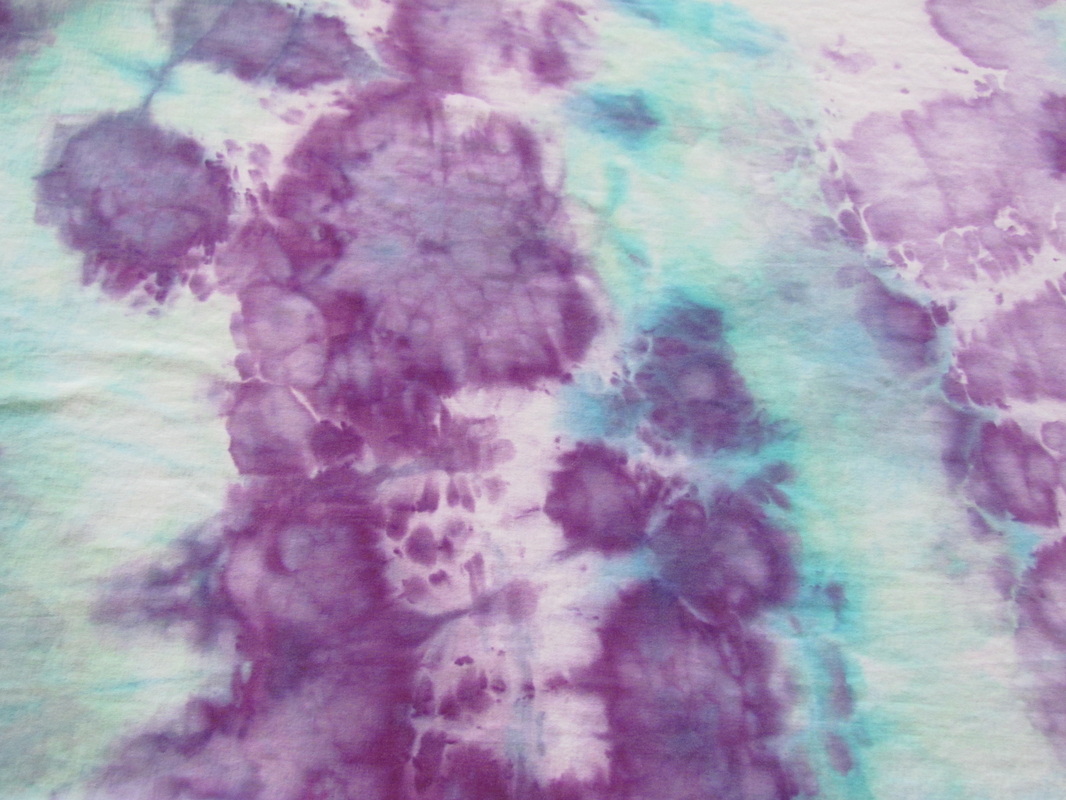
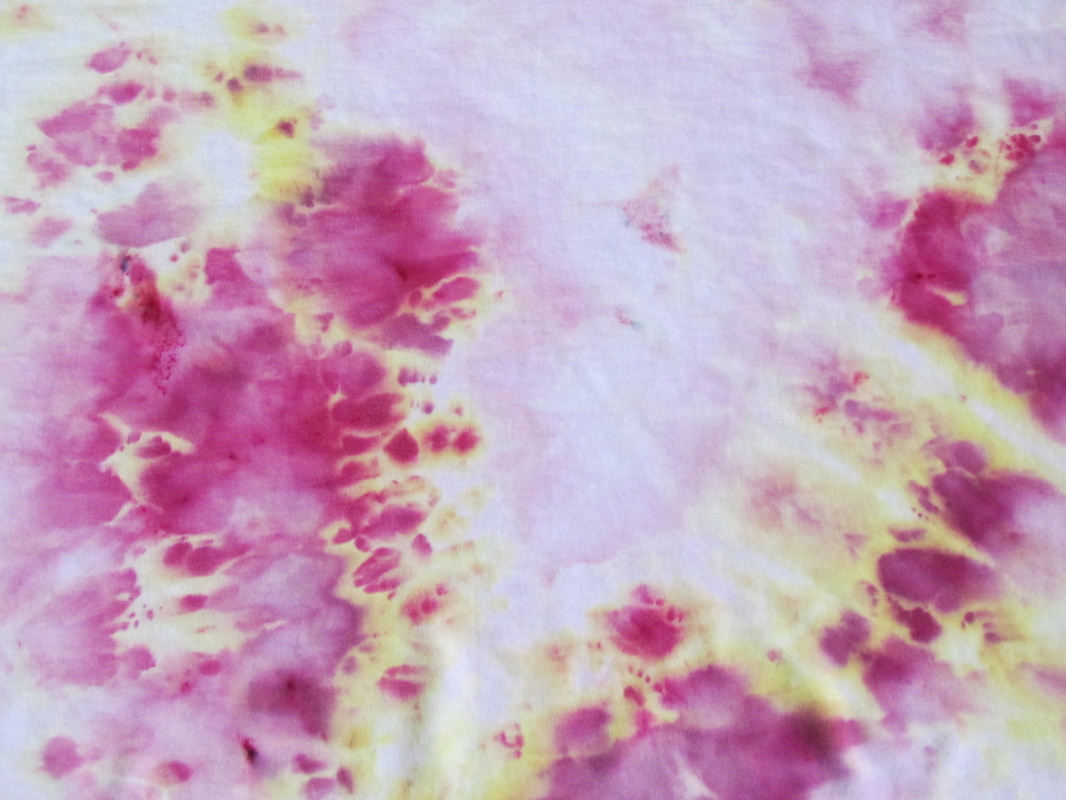
The other method we tried was to just directly sprinkle the dye powder onto the snow. This method gave a result that had more concentrated sections of colour, with some very dark and very light spots. The liquid method had a more uniform colour blending.
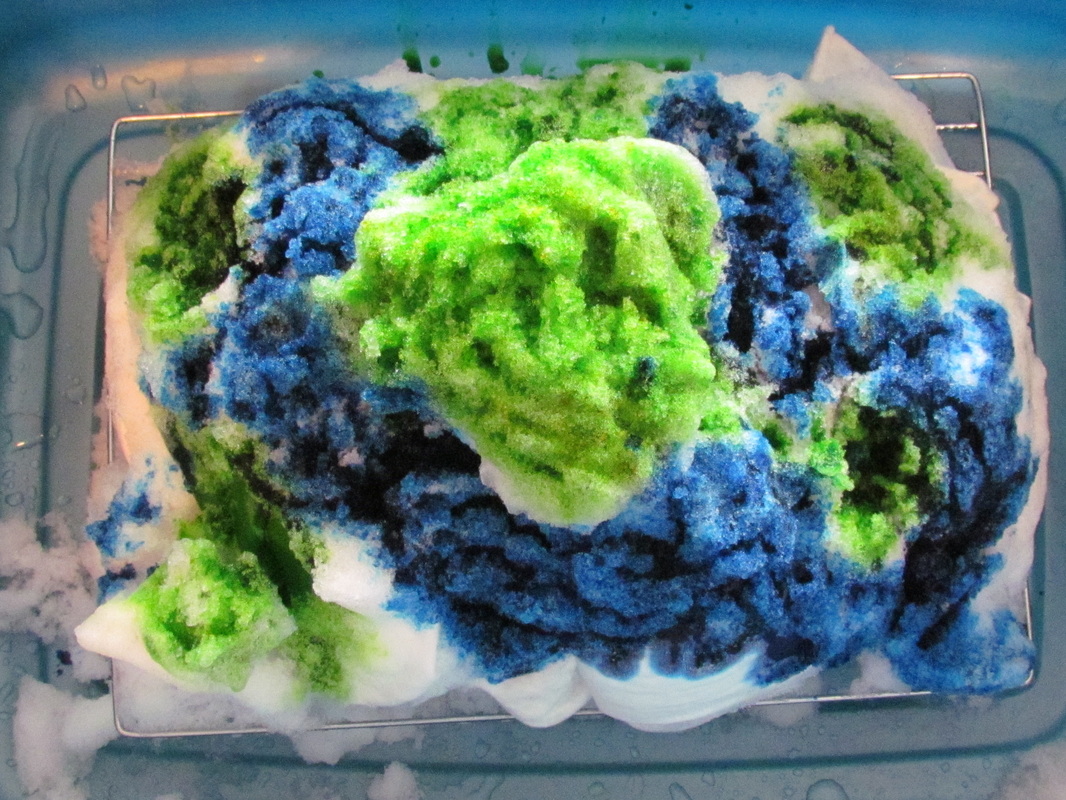
Have fun covering the snow with colours! I found that using 2 colours gave plenty of variation in the end result.
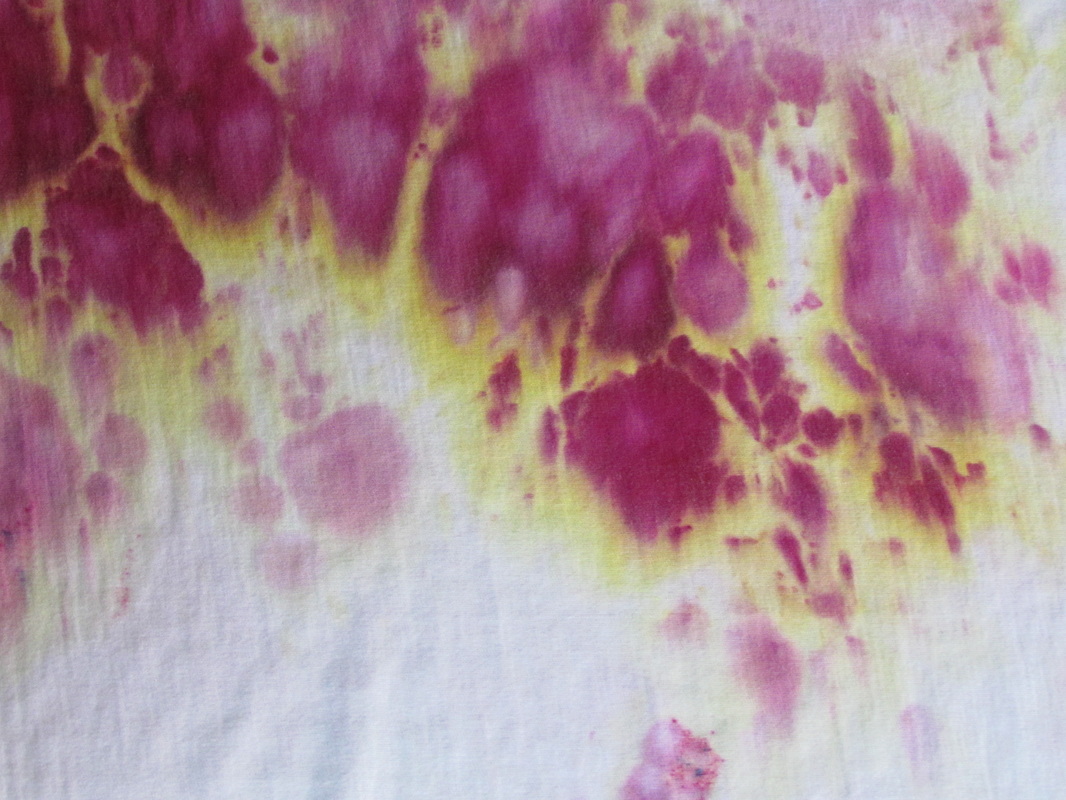
Now the hard part... waiting. you have to let the snow completely melt, and then let the dye set into the fabric. SO cover your masterpiece with a lid to prevent it from drying out and leave it overnight. In the morning rinse your fabric repeatedly until the water runs clear. I like to hand wash the fabric in the kitchen sink at this point (it helps prevent the dye from bleeding). Then wring it out and dry it, either on a line or in the dryer. That's it.
Have fun!
Have fun!


 RSS Feed